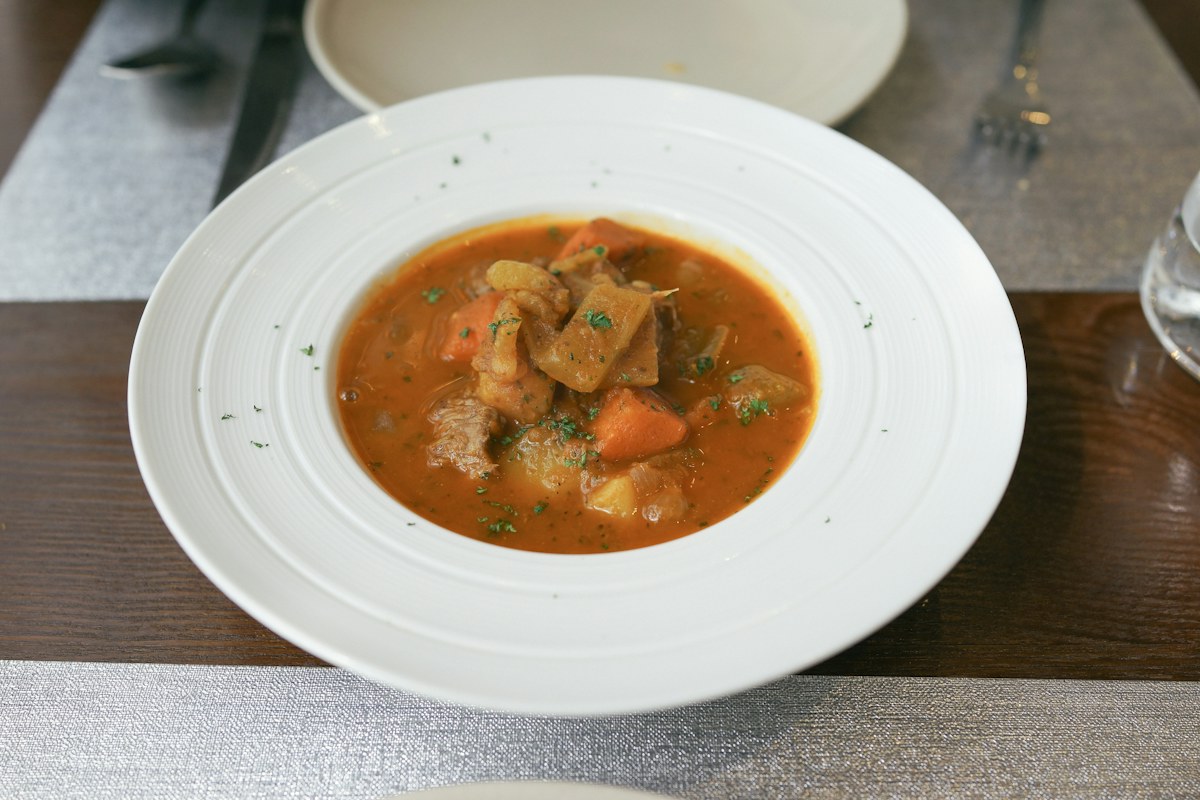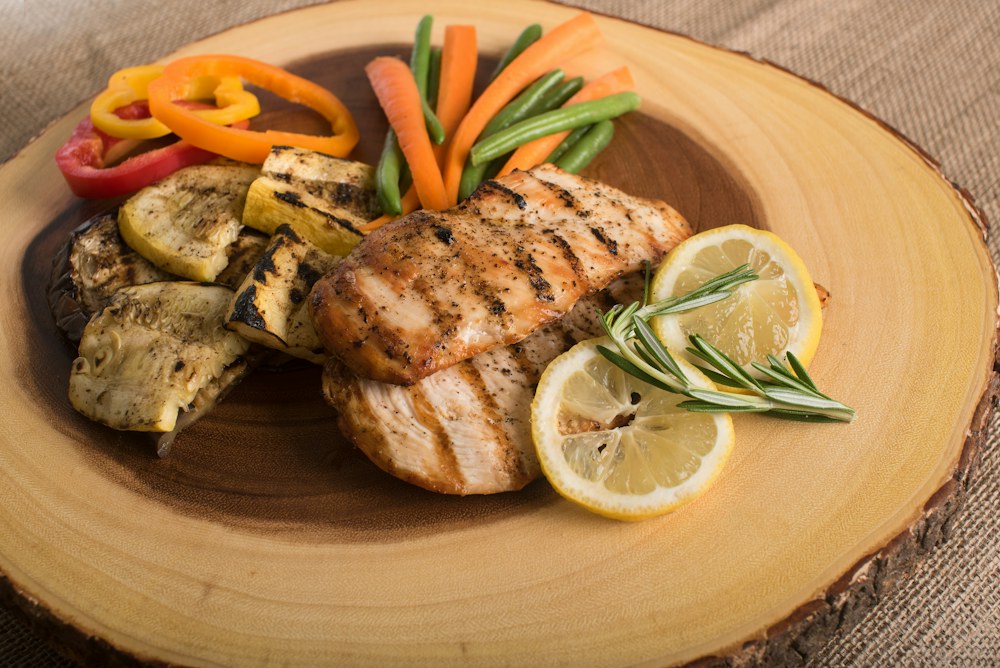
Pick an ingredient suited to time
Connective-tissue-rich cuts such as chuck and shoulder are common braising choices; delicate lean cuts can dry out. Cabbage, fennel and leeks can also be braised, but take much less time. Match the recipe to the ingredient rather than swapping only by weight.
Build the base
Dry and brown the main ingredient in batches if the recipe calls for it. Set aside, soften the aromatics and add liquid to dissolve the browned fond. Leave burned deposits behind. Return the ingredient and add the specified liquid; braising often uses partial submersion.
Control the simmer
Cover and cook gently on the stove or in the oven. A hard boil can break up vegetables and make the liquid reduce too quickly. Check periodically and add liquid if the pot is drying. Use a thermometer for safe meat doneness and a fork or skewer for the separate question of tenderness.
Finish the sauce separately
Remove tender food before reducing its liquid so it does not overcook. Skim excessive fat and taste after reducing. Slice across the grain where appropriate. Cool leftovers in shallow containers promptly; reheated leftovers should reach 165°F.
Your next kitchen exercise
Choose a complete braised-chicken-thigh or braised-cabbage recipe. Record the difference between safely cooked, tender and falling apart.