What you will learn
Evaporate excess water while protecting seasoning and avoiding a scorched bottom. The goal is not merely to copy motions. You will learn why the sequence works, which clues matter, and what to change when your stove, pan, ingredient size, or timing differs.
Why it matters
Beginners are often given short instructions without the decisions behind them. This lesson turns the vague parts into actions you can observe and repeat, so an ordinary variation does not force you to guess.
What you need
A wide saucepan or skillet, spoon, and a cool tasting spoon.
Before you start
Check whether the food inside can tolerate more cooking. Remove already-done meat or vegetables before reducing the liquid when necessary.
Increase surface area
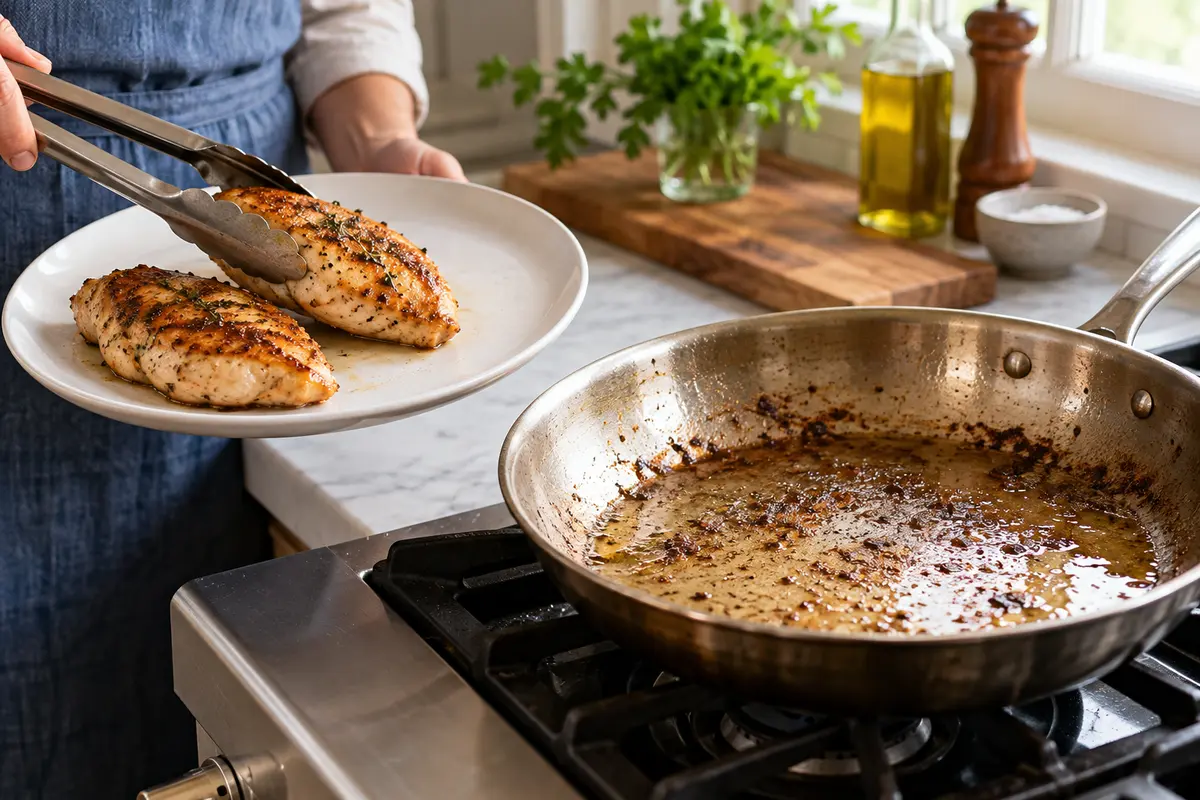
Move the sauce to a wider pan if practical. More exposed surface allows water to leave faster without extreme heat.
Use an uncovered simmer
Keep bubbles active but controlled. Stir thick or sugary sauces more often, scraping the corners.
Watch the trail
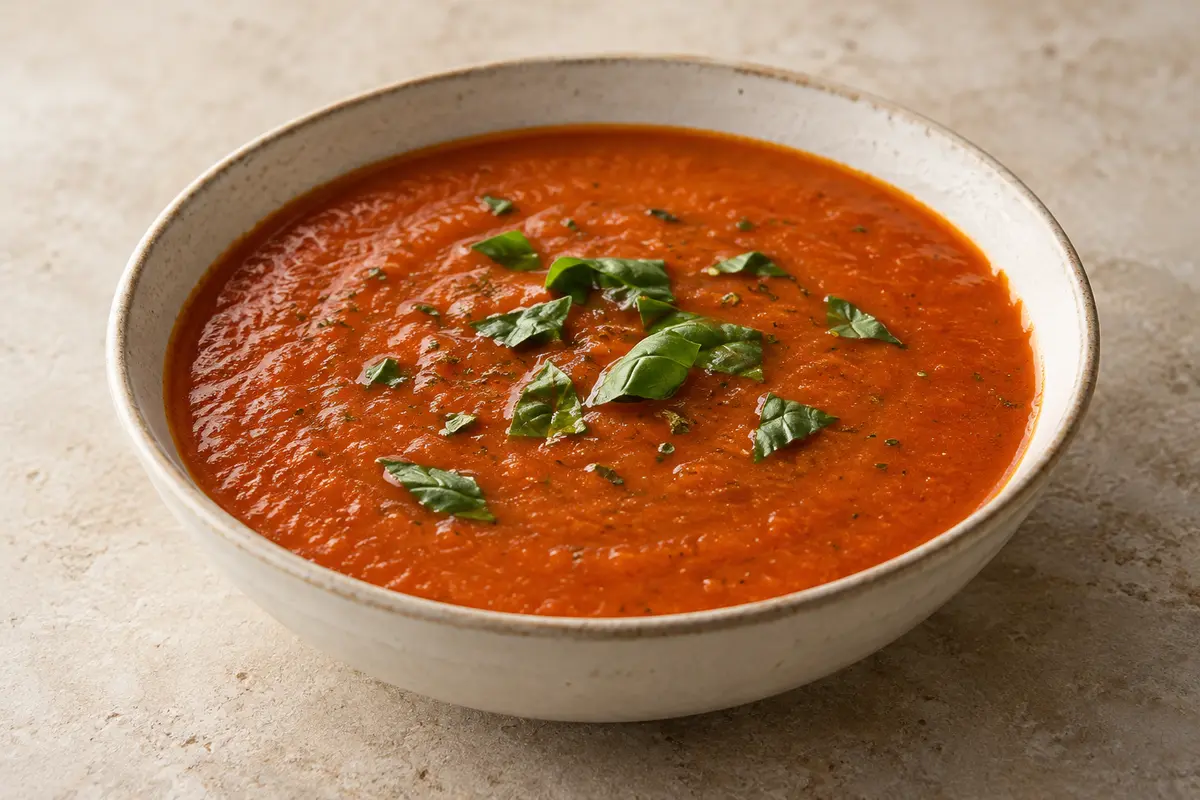
Draw a spoon across the pan. As the sauce thickens, the path stays visible slightly longer and bubbles become slower.
Taste carefully
Cool a spoonful before tasting. Reduction concentrates salt, sweetness, acid, and spice as well as flavor.
Stop before it is perfect
Sauce thickens a little as it cools. Remove from heat when it lightly coats food, then finish with butter or acid only if appropriate.
What good progress looks like
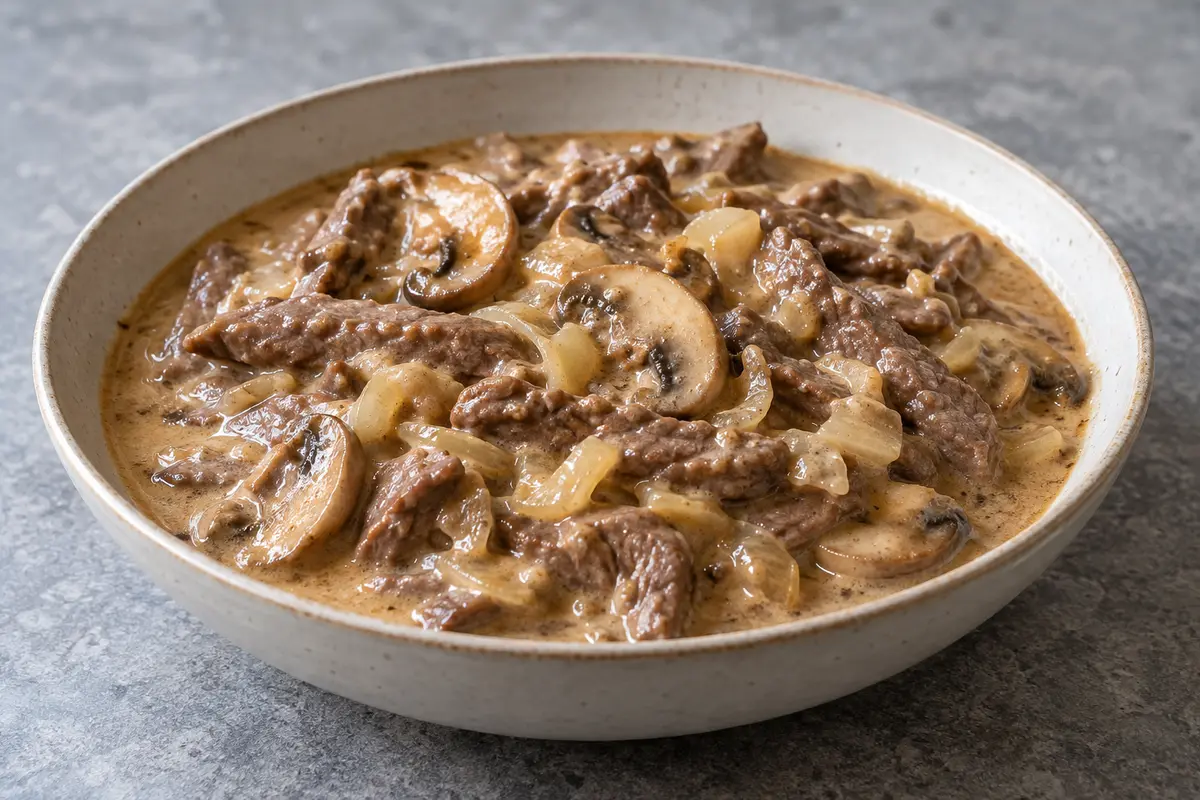
The sauce coats a spoon in a thin layer, no watery ring separates, and the flavor is concentrated without becoming too salty.
Common mistakes and a useful response
Adding flour directly to hot sauce creates lumps. Boiling hard can scorch the base and overcook food left in the pan.
A small practice exercise
Reduce one cup of unsalted stock to three-quarters and then one-half cup, tasting cooled samples at each stage.
Keep the exercise small enough that you can pay attention. Repeating one controlled action teaches more than changing several variables in a complicated meal.